I've been making steady progress on Mouse over the last few weeks. I'm actually almost done painting the outside, after flipping the boat over, but that bit will have to wait until I catch the blog up to the present. Here's a little sneak preview.
 |
| First coat of paint! More later... |
But backtracking a little, one thing that needed doing was the drain plug. I bought a nifty "T" handle plug from Hamilton, but I didn't like the hull fitting it came with. I substituted a common 1/2" plumbing nipple, cutting it in half and bedding it in epoxy, in an oversized hole.
 |
The "T" handle plug, and sawn off nipple.
|
I actually had to drill 3 holes to set this up. The first 1-1/4" hole was bored just deep enough from inside the bottom to bring the nipple flush with the inside.
 |
| A stepped mortise was bored for the nipple and drain hole. |
Before installing it, I bored a second 3/4" hole all the way through the hull, and filled that hole up with thickened epoxy. I then taped off the underside of the nipple (to keep epoxy out of the threaded inside) and set it in thickened epoxy. When cured, I drilled a 5/8" hole back through the epoxy bushing that I had earlier cast. The drain goes through the boat, but all of the wood is completely sealed with epoxy.
 |
| This old duck was used as a prop to keep the drain assembly upright while the epoxy cured. |
I had previously finished the decking, and trimmed it off flush with the hull, so it was then time to install the rub-rails. I had a nice piece of 4/4 sapele to use, and this I ripped up and scarfed together to make a pair of rails. The wood was so stable, it didn't move a millimeter after ripping.
 |
| A nice piece of sapele! |
I used my old (20 years at least) scarfing jig to plane the tapers, and glued up both pieces on a flat table.
 |
| 8:1 scarfing jig. |
 |
| The finished scarf. |
 |
| The scarfing bench. Flat, with straight edges to aid in aligning the pieces to be scarfed. |
Before fitting the rub-rails though, I went ahead and trimmed the stem-heads to final shape. I made patterns of the stems in thin ply, and transferred the layout to the boat, in ink so I could see it. I cut the shapes out as close as I could with a hand saw, chisels, and gouges (for the hollow bits), finishing up with a rasp and sandpaper. As a sidebar, I recently bought one of the newer hand-cut rasps from
Gramercy Tools, and I love it. These are more affordable than the Ariou rasps, and are beautifully sharp and well balanced. I'll have the set eventually!
 |
| Bow stem pattern. |
 |
| Marked out in ink and sawed close. |
 |
| Cut to the line with chisels and gouges. |
 |
| The finished bow stem. |
 |
| The finished stern stem. |
The rub-rails are a little tricky to fit, in that the ends have a compound bevel and have to be the exact right length. I often do this with patterns, but I was in a hurry, so I went for it, cutting the ends right on the boat without unclamping them completely. I measured the angles with two bevels, marked them out and made the cuts. They came out reasonably accurate, and I saved a pile of time.
 |
| I sawed the ends right on the boat. |
 |
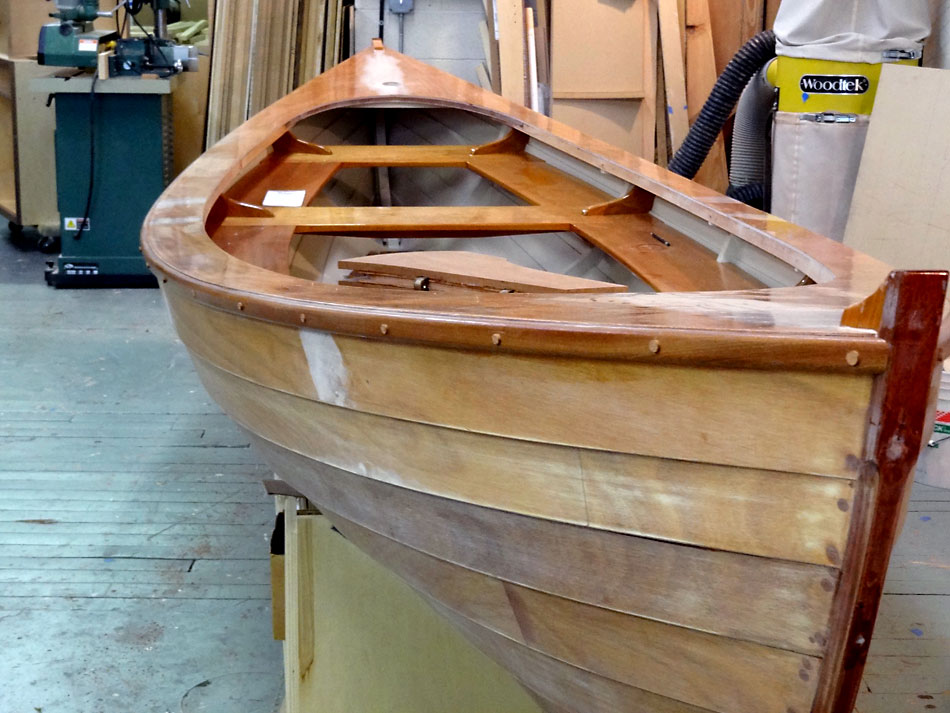
| They fit pretty good. Its clear from this photo that the rails must be tapered. |
After fitting the ends, I tapered the pieces in both thickness (siding) and in width (molding). They look much better tapered than straight, and anyway would have projected beyond the stem cutwaters, making it mandatory. I spaced out fasteners for the rails and bored the countersinks, then radiused the edges (the radius is tapered as well). To keep the rails clean during installation, I sealed them with a coat of amber shellac. I installed the rails with stainless screws, and bunged the counter-bores with plugs made on the drill press from a tapered plug cutter (the best).
 |
| Tapered, radiused, bored, and sealed with shellac. |
 |
| Screwed and bunged! |
I had now gotten about as far with the interior and deck as I wanted, and decided to go ahead and flip her upside down for fairing and finish painting. I gathered some help again, and we lifted her off the cradle. I'm quite pleased with her weight so far. Two of us could pick her up easily, and set her on the floor. We did get more help for flipping, though. No need for testosterone here; too much is at stake! It was fun to get a different view of the boat though, and sitting on the floor heeled over gave me better feel for her shape. I added cross pieces to the cradle and we flipped her right over onto foam pads at the gunwales.
 |
| Free at last, temporarily. |
 |
| Stern view. Ashok is putting on the cradle supports. |
I've now done a lot of fairing, sanding, and painting, and I also put a layer of glass on the keel, but that report will have to wait for a bit. I won't be so long though, in getting the next post out. 'Til then...